
So how do you go about planning out your photo choices for PROJECT LIFE? Are you doing a weekly or monthly overview? Are you adding in mini pages & memorabilia?
Or are you choosing to complete a special occasion project such as a once in a life time trip or your summer vacation?
With digital cameras and smart phones, we are taking 100's upon 100's of photos for single events in our daily lives and even more for those special moments.
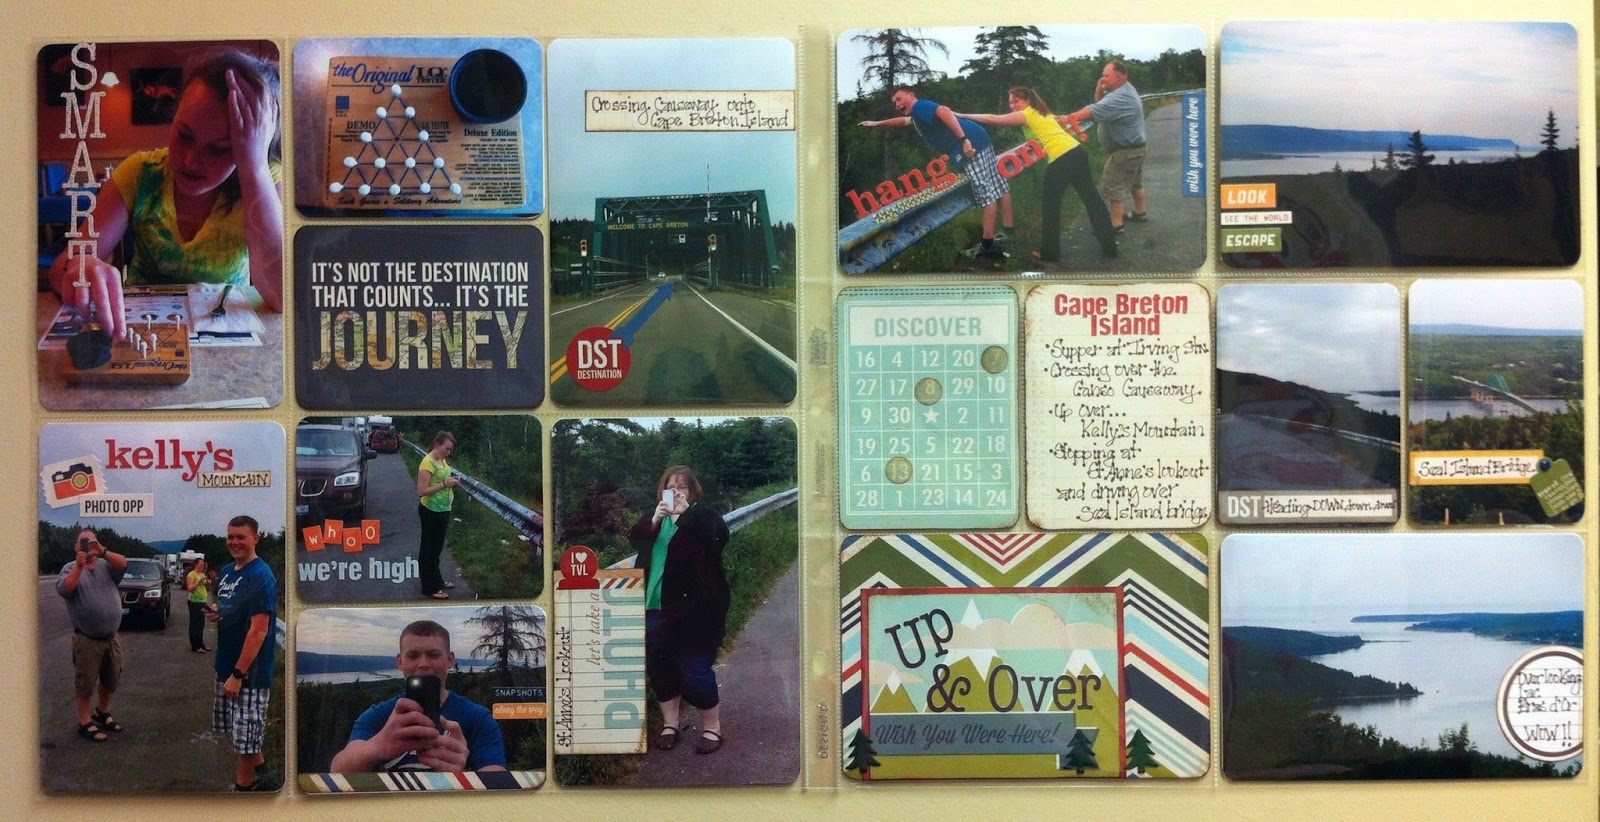
I have been working on my 1000's of trip photos and decided to complete the album in "Project Life" style. But what photos do I choose. We had 4 people with 4 cameras, & 3 iPhones taking photos, all day long for 14 days. Huge task!
I first decided to download everyone`s cameras, everyday onto my laptop, placing them into a folder with that day`s date. Each dated folder was in turn broken down into location & or event. I truly will never be this organized again. But the nagging question - What photos do I choose, what do I print?
I had to find a way to pick my favourites & plan out my pages with the Photo Sleeve designs I knew I would work with most. So I created some WORD TEMPLATES where I could put temporarily the photos I would choose to work with for that page. I would love to share these templates with you.

We will start with A DESIGN as it is the most common.
Instructions for template use.
- Follow the link - another screen will open & you will see the template in Google Documents. It looks funny & I am not sure why, but don't worry that it is missing 2 blocks.
- In the top left corner of the screen you will see a little black arrow pointing down - clicking this will allow you to download and save or open the file in WORD.
- Once it is open in WORD click ENABLE EDITING at the top of the WORD screen.
- Select one of the boxes. You will see a tab at the top of screen that says DRAWING TOOLS. Select that tab.
- Find the item - SHAPE FILL. Click on this & it will open a larger box. You can than choose to "FILL" your shape with colour, pattern or PHOTOS.
- Select PICTURE & from your files choose a photo to FILL your shape.
- After choosing & filling all your chosen shapes with your photos - Print those photos in the sizes that you need. (A DESIGN 4X6 landscape or 3X4 portrait)
I am hoping that this works for most people. If it doesn't work for you please email the store
allaboutscrapbooks@gmail.com , PROJECT LIFE TEMPLATE in subject and request the template file for your version of WORD or it can be sent in OPEN OFFICE.
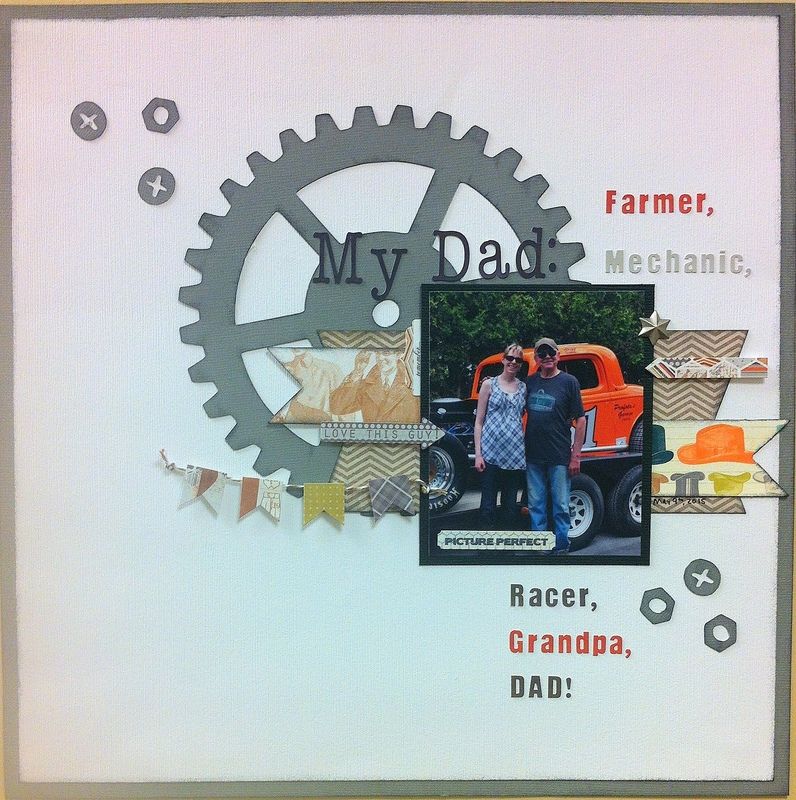
Using the photo pockets, handmade & premade cards & my photos, I have been able to complete quite a few pages so far. Take a look


Great job Kim,
ReplyDeleteLooks like a great vacation and lots of fun.
Thanks for the inspiration,
Shannon Burns