
We will be sharing with you some great tips, tricks and tutorials to enhance your scrapbooking/crafting experience.
Here is our first "TIP" from our Design Team Member Marlene.
She has a great talent in creating little, lovely clusters of embellishments.

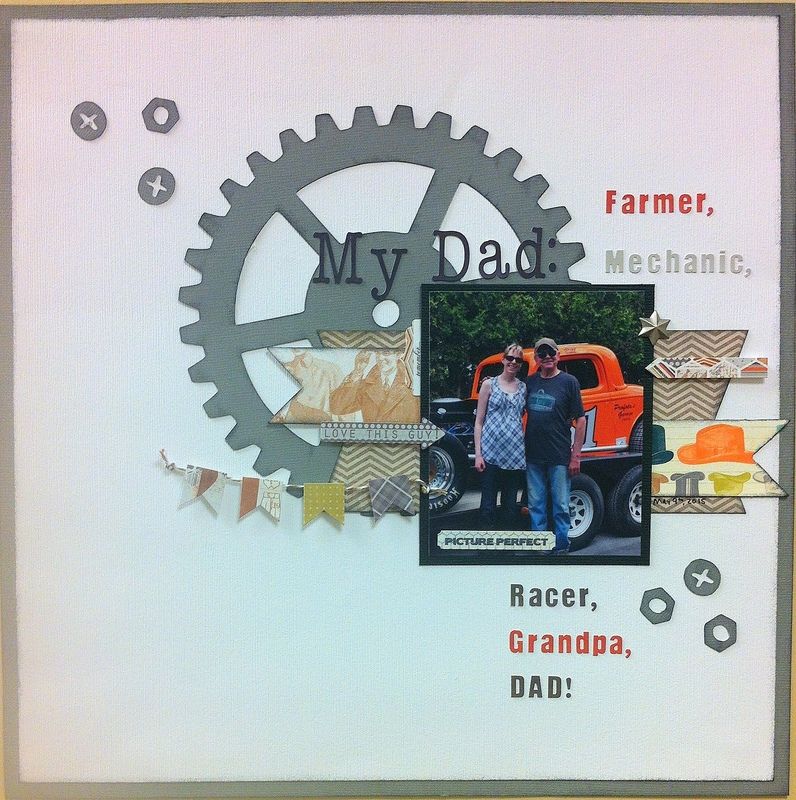
Tips on creating visual clusters.
The idea behind these little areas of embellishment are for them to help lead your eye around the page. I like to use groups of three-most of the time, there are some exceptions.
So, one area to start would be near the title,

one near the journaling,

and one across from the first two to create an imaginary triangle.

As in the sample, I've chosen red, green, and cream as my main choices in all three clusters. That doesn't mean there can't be other colours popping up here and there, though.
Using the same products on all three clusters helps unify the whole page. So whether it be a piece of washi tape or trimmed paper as your base, use it in all three areas. Labels, die cuts, enamel dots, again, use them at each grouping. I like to work with my base layer and make each subsequent layer a smaller item. There are none on this sample, but the addition of pearls or enamel dots at the three clusters would be my last placement.
Think of setting a table: placemat, charger, largest dish, smaller plate, bowl, lastly the glassware and cutlery.
And, since I'm always working with different companies supplies, the best way I find to make them seem like they all belong together, is I stain the edges with brown ink.

No comments:
Post a Comment